Here is an overview of the CHAMFER command. This command will create a beveled edge between two selected lines. It can be defined by specifying a distance away from the intersection of the selected lines. It can also be defined by an angle.
See this link to learn about the new “preview” function:
https://autocadtips.wordpress.com/2011/03/24/fillet-chamfer-preview-in-autocad-2012/
Here’s how:
- In the “Modify” panel on the “Home” ribbon, click the dropdown list where you find the tools “Fillet,” “Chamfer” and “Blend.” The last used tool will be shown as the tool on the button. Select the CHAMFER tool.
- CHAMFER <enter> or CHA <enter> to start
Notice the options that are available in the command line:
Below illustrates how to use the common method of this tool which is to define the distance.
Applying the chamfer with a distance of 1 for both lines picked. These lines overlap each other and the chamfer will clean up these lines.
Applying a chamfer with a distance of 1 to both lines. This time, the lines do not intersect and the chamfer will again clean up the intersection.
Below, illustrates how to use this command to not actually apply a chamfer to the two selected lines. When asked to select the two lines, you simply hold the SHIFT button and select the lines. This overwrites the defined distance and will simply clean up the intersection and trim/extend the lines so that their endpoints meet.
Another method to use in order to achieve the same result to multiple lines is to actually set the distance for both lines to 0 (zero) and then use the M option (for “multiple). This will allow you to keep selecting lines in order to clean up their intersections without having to restart the command.
Below shows the “Trim” option and how to apply a chamfer without trimming the overlapping segments.
Note: this uses the system variable TRIMMODE <0> = OFF, <1> ON
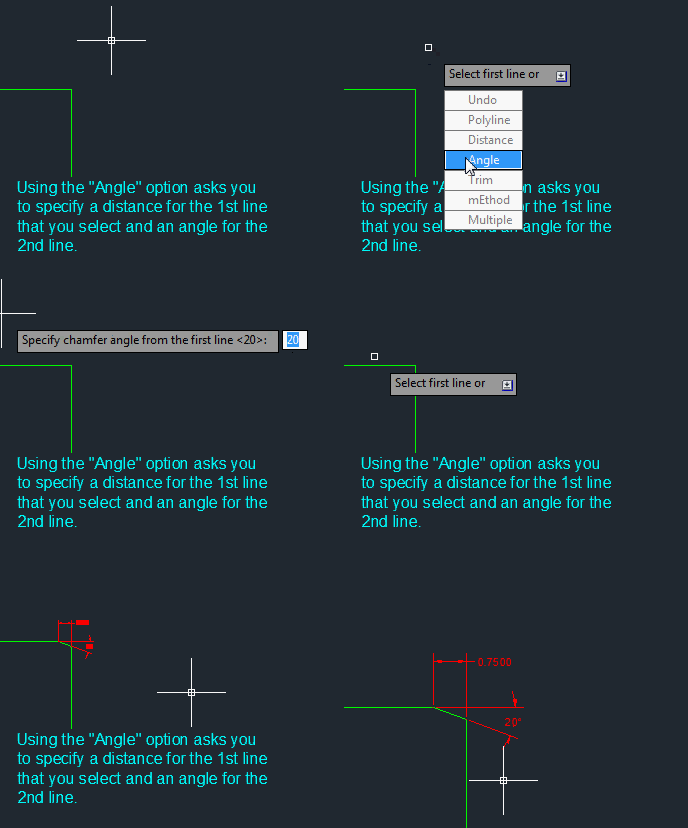
Below shows how to use the “Angle” option. Note that when it asks you to define it, it is asking for both a distance and an angle. The distance that you define will be applied to the first line that you select. the angle that you define will be applied from the point of the first line to the second line that you select.


though i know the command but the illustration is really very good!!!!
Thanks
I too find that the little animations make it easier to learn
~Greg
I once thought videos were the only way to illustrate so perfectly a how-to article. But the animated images you used here made me rethink again about video tuto.
well done