
I hope that you noticed something in my previous blog post about fixing holes in hatches that didn’t have anything to do with that topic. In fact, this is a very common issue that plagues AutoCAD Civil 3D users. As you can tell by the title of the post, it is the fact that AutoCAD and the OOTB (Out Of The Box) concrete hatch pattern seem to not get along very well.
Sidenote: I think that the problem still persists on other custom concrete patterns as well.

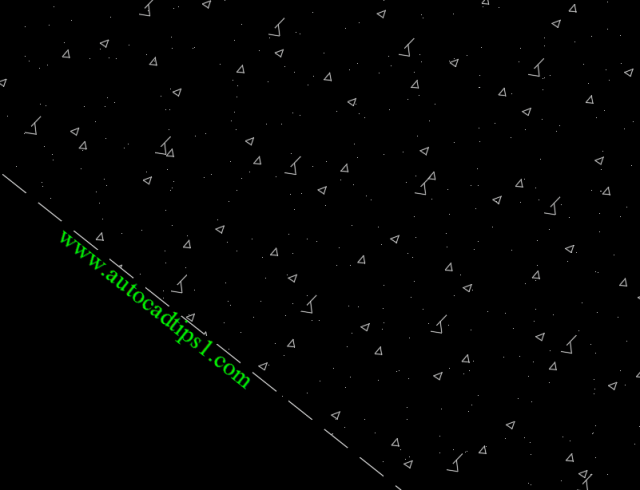
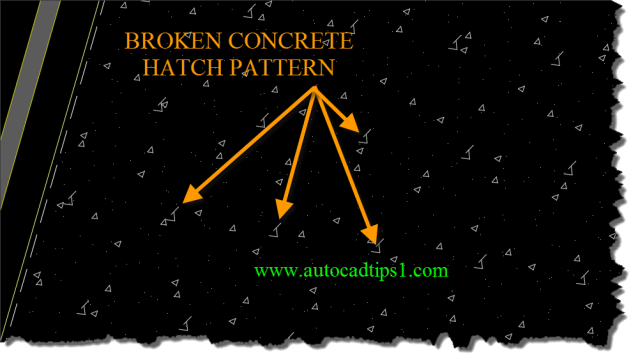
As seen below, The issue seems to be only one triangle that is repeated.
Here is a good rule of thumb when it comes to AutoCAD. The further away your drawing elements are from the “Origin” (0,0,0) the more weird stuff tends to happen in your drawing. And since Civil 3D works in real-world coordinates, our drawings are far away from the origin. I live in the Denver Colorado area, so my drawings are not only far from zero, zero but also the 3rd zero as we are a mile high…
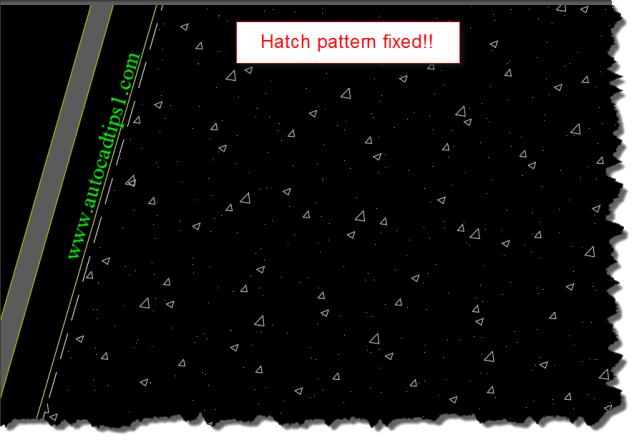
Luckily, there is an easy solution to this. You can give hatches a new origin while leaving your UCS alone.
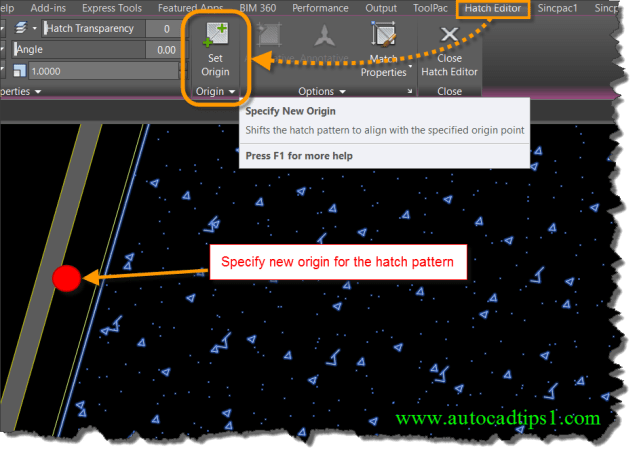
Simply select the hatch so that the “Hatch Editor” contextual tab is shown, Then click on “Set Origin” as shown below and then click on a point that is within the area where your drawing objects are located. I would suggest using a common point as the new origin. Something like the corner of a building. That way if you have two areas that are hatched separately but are right next to each other, they will have the same pattern.
Enjoy!

Hi
I really appreciate you. You gave your large amount of time to create such a knowledgeable site. It’s highly expertise information you are providing here.
You may check here for autocad training
Thanks
Hi
I have to appreciate to you that you have such a knowledgeable site and spent your time to create this.
You may check this link for autocad training.
thanks
Thanks for the tip. Although my hatch appears to be fixed in an xref, when plotting to pdf it still appears broken on the print. Any ideas?
Same issue – my hatch appears correctly after setting origin. However, when plotting the hatch appears as though origin isn’t set close-by. Oddly – I have two AR-CONC hatches, this seems to only affect one of them.
Quick update – Seems to be a bug with the Annotative feature. I originally had the hatch annotative at my drawing scale 1:250. By setting Anno to No in the properties, and rescaling the hatch appropriately, the hatch plots OK now.
Made fixing my problem quick and easy, thank you!
Bravo! Well played sir.
Wow. Simple solution to a common irritation. I greatly appreciate your post. Cheers.
Wow, easy way to fix the problem! Thank you so much for your post.